Logo Project

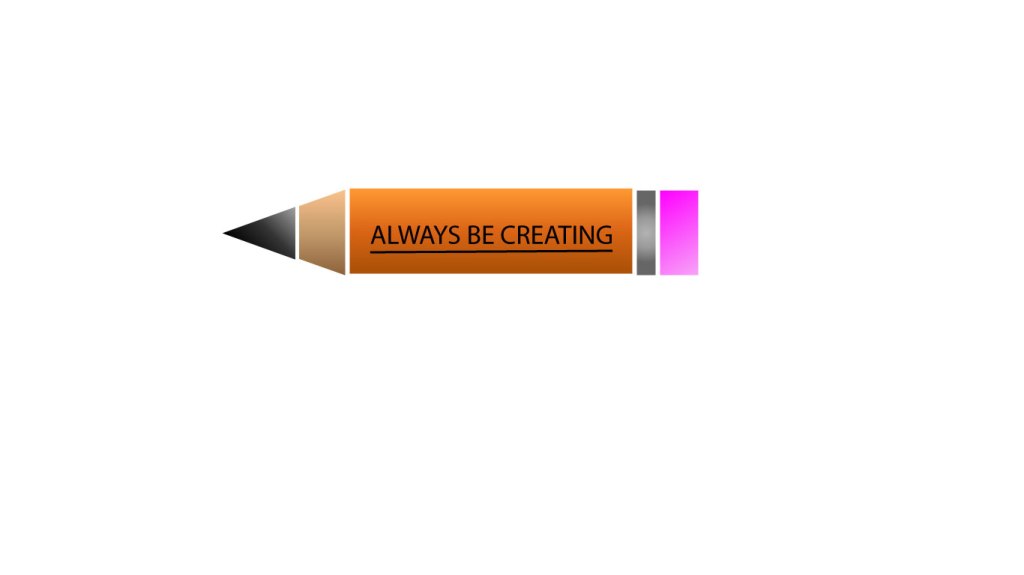
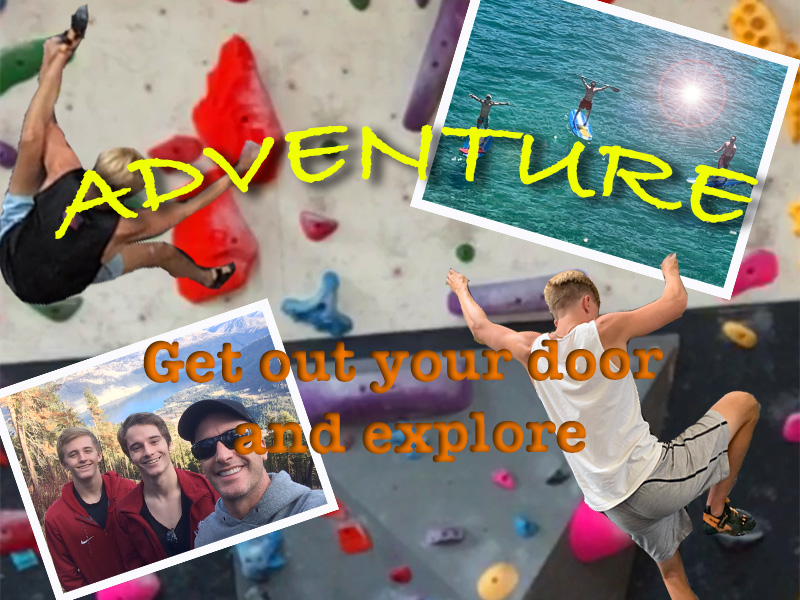
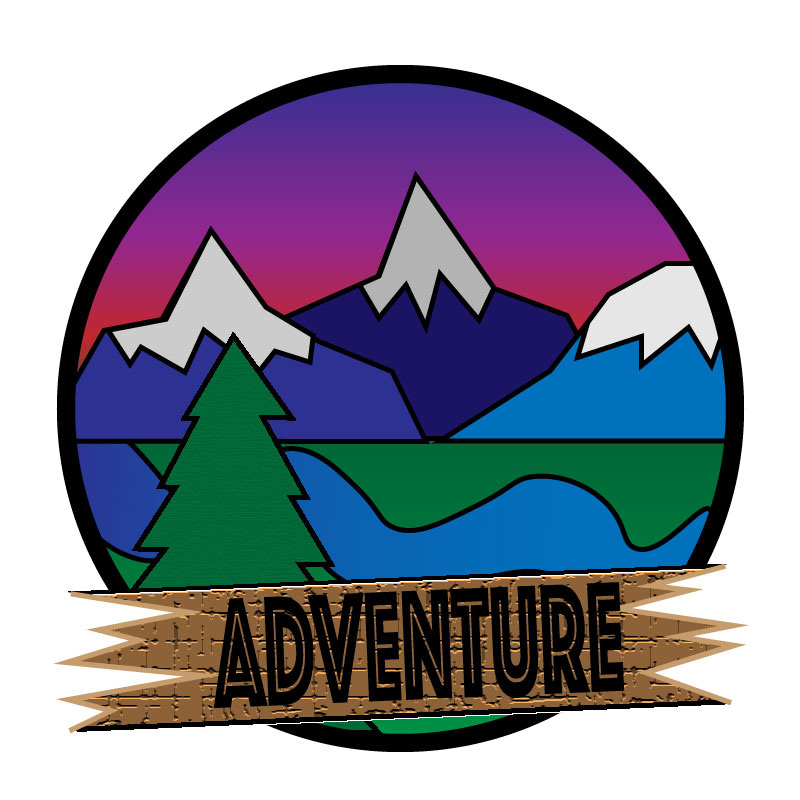
I really enjoyed making this project. At first the tutorials seemed complicated, and I thought to myself that I would never get the hang of it. But once I started working on my own my piece really started to take shape. The hardest thing about the tutorials in my opinion was the gradient tool. Every time I tried to fix the gradient on something it wouldn’t work out. Trying to make an image 3 dimensional like the pen was proving to be a very hard challenge.

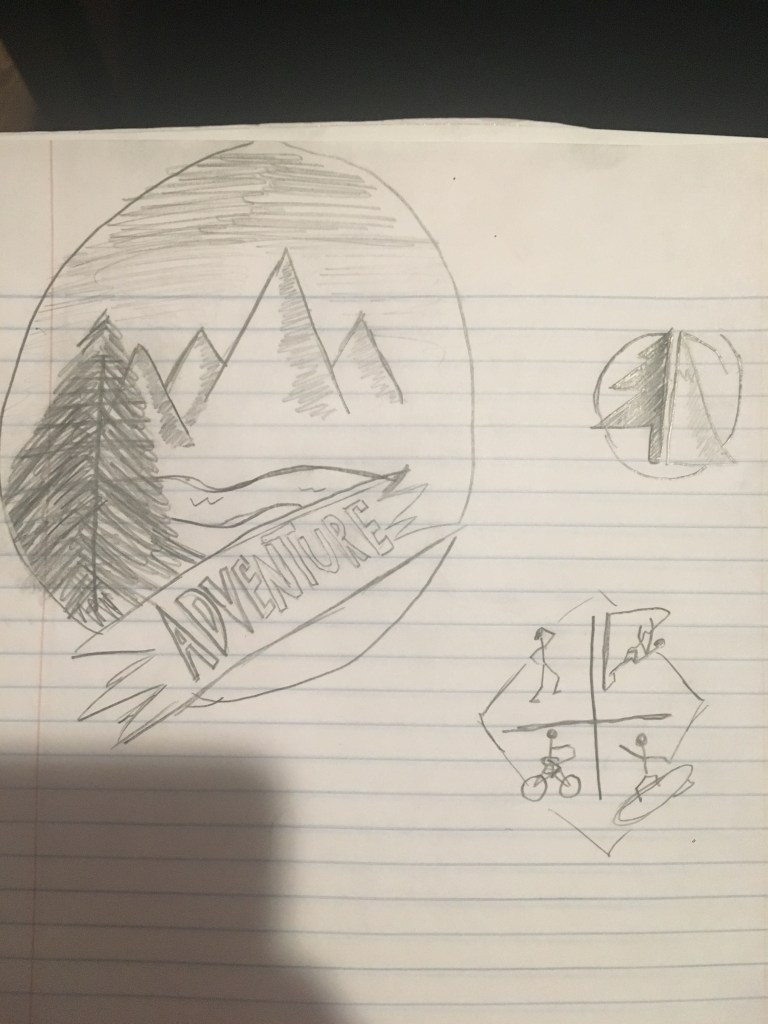
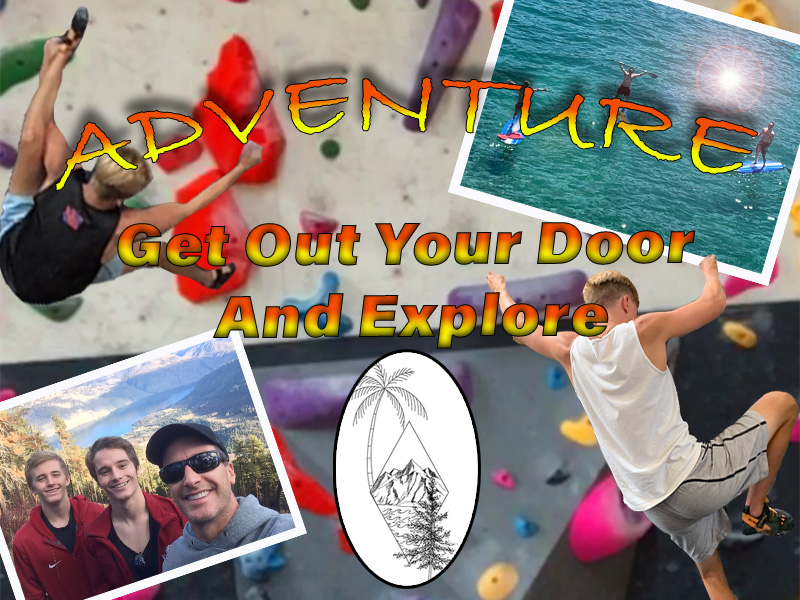
once I wrapped my head around how it worked it became very fluid and easy to work with. For example, the sunset in my photo is the gradient tool at work. I simply selected the colors of a sunset and fortunately it worked out. Most of my inspiration for the peace comes from all of the prior research I had done figuring out my tattoo. So, I already had an idea about how it was going to look based off of that research. Something I couldn’t quite figure out though was how to change the gradient of the letters in “adventure”. I tried so many different approaches to change the gradient from red to yellow, like in my last assignment. But for some reason I couldn’t figure out what went wrong. I will be attending class at some point next week to get the answer to my questions. But overall, I really enjoyed the freedom that this project allowed me. I think that I learn more when given freedom to experiment with the program rather than doing the tutorials. Problem solving really makes these projects what they are. For example I wanted every object behind the circle, but I also needed the grass and sunset behind the cutouts of the trees and mountains, so a solutions that I figured out was to make two layers, one of the layers was for the circle surrounding the image, and the other was for the gradient behind all of the cutouts.   

Final Graphic Design Project

Final draft

I really enjoyed my first photoshop project because of the freedom and creativity I was given for the assignment. At first for the project I was nervous because I had lots of trouble on the tutorials. But once I started, I began to really enjoy the process of creating the image. I think that my draft went really well I figured out how to solve a lot of the problems I faced while creating the image. The major problems I faced where trying to get the words of my photo to arch and look exactly how I wanted them too. And the other major problem I faced was trying to get my images look the specific way I wanted them to look compared to the rest. Fortunately, I was able to experiment and figure out creative ways to make the image pop and look the way I wanted. The major problems I faced with the revision was trying to get the words to pop out compared to the images, Fix the cutouts that I made so that they were not squared off, and I wanted to add a logo for my image so that people can identify easily. Everyone commented on my draft post that my words did not stand out compared to the rest of the image, and that I need to make them pop. So, I added a fade from yellow to red and added a black stoke to the words. These changes made the words pop out and easily readable for my audience. The next biggest thing that people commented on was my cutouts. I did was zoom into my cutouts and grabbed the erase tool and carefully tried to fix all of the squared edges around the cutouts. The last thing that I did was that I wanted to come up with a logo for my image. So a few months ago I got a tattoo and my artist sent me a clean drawn image of it, I thought that the image fit my theme so I used the oval tool and centered the image.

Draft graphic design project

I really enjoyed making my first photoshop design. At first, I was really nervous because I had a very difficult time with the tutorials, but once I started working on it the project came naturally to me. I am proud that I didn’t use any images that didn’t belong to me. The most fun thing about this project is the trial and error. The reason I thought this to be the most fun about this assignment was because I learned a lot more about photoshop through my “happy accidents”. For example, while trying to put a boundary (stroke) around my photos on the top left and top right I found the layer style menu. At first this menu was very new and frustrating, but once I learned what each layer style did, I was able to edit my photos. The layer menu is the reason that there is a lens flare on my photo in the top left. Another example I had from the trial and error of this assignment was the bottom letters that read, “Get out your door and explore.” At first the letters were not popping out and I could hardly see them, so I thought that adding a shadow would make them pop out more for people to see. But I accidentally clicked on inner shadow rather than the regular shadow, so my shadow was inside the letters. I thought that this looked way better and popped out way more than the regular shadow. I also thought that the tutorials really helped me when putting this assignment together. For example, when trying to cut out the picture of my body I used the quick select tool, but that was not working it took too much of the wall behind me. So, I used something I learned in the tutorials, which was the magnetic lasso. The magnetic lasso really helped me with all of my cutouts for this assignment. One of the things I am most proud of about this assignment is that I knew I needed a background, so I just used the upper half of one of my photos and made the colors pop more with the hue saturation tool. Overall, I really enjoyed the freedom, creativity, and the trial and error that went along with doing this assignment.

Inspiration citations

 “What Crack? 5.11a.” What Crack? 5.11a – Rocky Canyon Rd. | Rock Climbing Photos | Rockclimbing.com, http://www.rockclimbing.com/photos/Misc/What_Crack_5.11a_123202.html.

Green, Stewart. “6 Rock Climbing Performance Tips.” LiveAbout, LiveAbout, 12 Aug. 2018, https://www.liveabout.com/performance-rock-climbing-tips-755332.

Adventure

My topic for the semester is going to be about my personal growth though physical activity and travel. Throughout the summer I’ve been trying to take part in new and interesting activities that help me grow as a person, as well as have fun. I’ve been trying to hike more, visit interesting places, rock climb, and travel. Traveling and visiting places around the world has always been a very fun experience for me. Rock climbing is a new activity that I have picked up this summer and it has quickly become one of my favorite physical activities. Hiking has always been a fun activity to do and is especially fun going with a group. For the graphic design project, I will be making a step by step poster showing the stages of rock climbing/good vs bad technique. For the logo project I will come up with logo that goes along with my main theme of growth and development though travel and adventure. For the audio story assignment, I will be interviewing fellow travel and adventure enthusiasts about the advantages and disadvantages of their unique lifestyles and display the interview on my blog website. For the video assignment I will be making a video of some of the adventures that I go on, this could include rock climbing, hiking, and traveling. For the climbing and hiking portions of my video I will be receiving assistance from a friend, so that I can take images of myself. The technology I will be using to capture the images and videos for this assignment will mostly be my phone. In some cases, I may rent video equipment so that I may capture better quality images for my blog posts. I am very excited for the opportunity to share my unique experiences of travel and adventure with others.

http://www.rockclimbing.com/

https://www.wta.org/?gclid=CjwKCAjwkqPrBRA3EiwAKdtwk3oc16bQJvS3ed0MMLygyowZu1gEv-q8GqRK1vcDldojeYqQIqZ3WBoCkQMQAvD_BwE

Introduce Yourself (Example Post)

This is an example post, originally published as part of Blogging University. Enroll in one of our ten programs, and start your blog right.

You’re going to publish a post today. Don’t worry about how your blog looks. Don’t worry if you haven’t given it a name yet, or you’re feeling overwhelmed. Just click the “New Post” button, and tell us why you’re here.

Why do this?

  • Because it gives new readers context. What are you about? Why should they read your blog?
  • Because it will help you focus you own ideas about your blog and what you’d like to do with it.

The post can be short or long, a personal intro to your life or a bloggy mission statement, a manifesto for the future or a simple outline of your the types of things you hope to publish.

To help you get started, here are a few questions:

  • Why are you blogging publicly, rather than keeping a personal journal?
  • What topics do you think you’ll write about?
  • Who would you love to connect with via your blog?
  • If you blog successfully throughout the next year, what would you hope to have accomplished?

You’re not locked into any of this; one of the wonderful things about blogs is how they constantly evolve as we learn, grow, and interact with one another — but it’s good to know where and why you started, and articulating your goals may just give you a few other post ideas.

Can’t think how to get started? Just write the first thing that pops into your head. Anne Lamott, author of a book on writing we love, says that you need to give yourself permission to write a “crappy first draft”. Anne makes a great point — just start writing, and worry about editing it later.

When you’re ready to publish, give your post three to five tags that describe your blog’s focus — writing, photography, fiction, parenting, food, cars, movies, sports, whatever. These tags will help others who care about your topics find you in the Reader. Make sure one of the tags is “zerotohero,” so other new bloggers can find you, too.

Design a site like this with WordPress.com
Get started